Machine mbroidery Tutorial - Christmas Stockings Socks

Christmas Stockings Simply
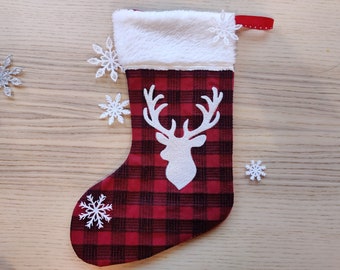
The Gingham/ Buffalo print is a part of the embroidery
In the hoop embroidery project by ARTAPLI
To make your Christmas Stocking Sock, you need a Christmas Stocking machine embroidery design. Choose one of them from my shop here: Artapli.etsy.com or click on the picture to choose one:


And now let's start the project!

Fabrics
Any fabric type is suitable for bigger stocking, and for smaller ones the thinner fabric is better.
- 2 fabric cuts for stocking front and back
- 1 fabric piece for cuff
- Ribbon
- Tear-away stabilizer, tape, scissors, batting (optional)
Design 5x7
2 fabric cuts approx. 6 in width and 16 in height
cuff 4 in width and 2 height
Design 6x10
2 fabric cuts approx. 7.5 in width and 21 in height
cuff 5.5 in width and 3 height
Design 8x12
2 fabric cuts approx. 9.5 in width and 25 in height
cuff 6.5 in width and 4 height
Design 12x14
2 fabric cuts approx. 10.5 in width and 30 in height
cuff 7.5 in width and 4.5 in height
Stitching
Hoop only tear-away stabilizer. Lay stocking fabric inside the shape.
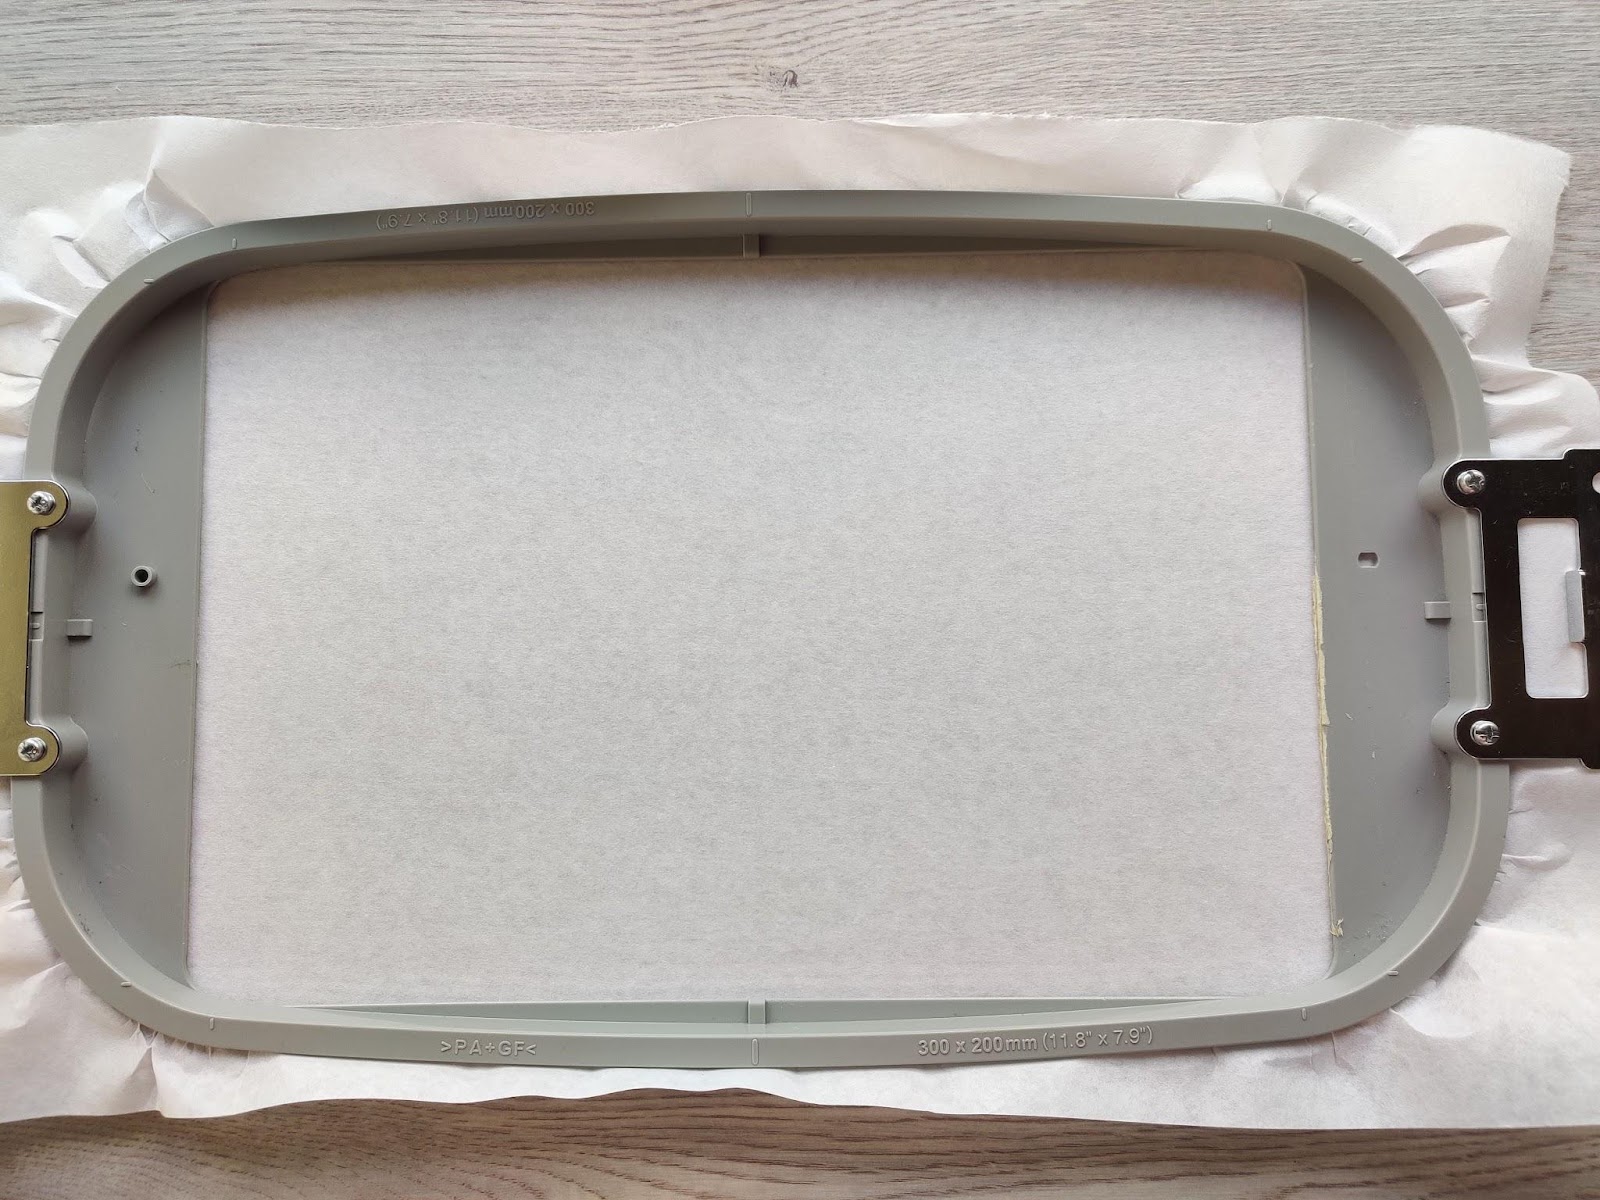
Lay so the bottom part will be exactly in a hoop and the rest of the fabric will go out of the hoop in the upper part for further needs, example image below:

It is helpful to use the tape to make sure the fabric stays nice and flat while stitching.
Embroider the stocking outline.

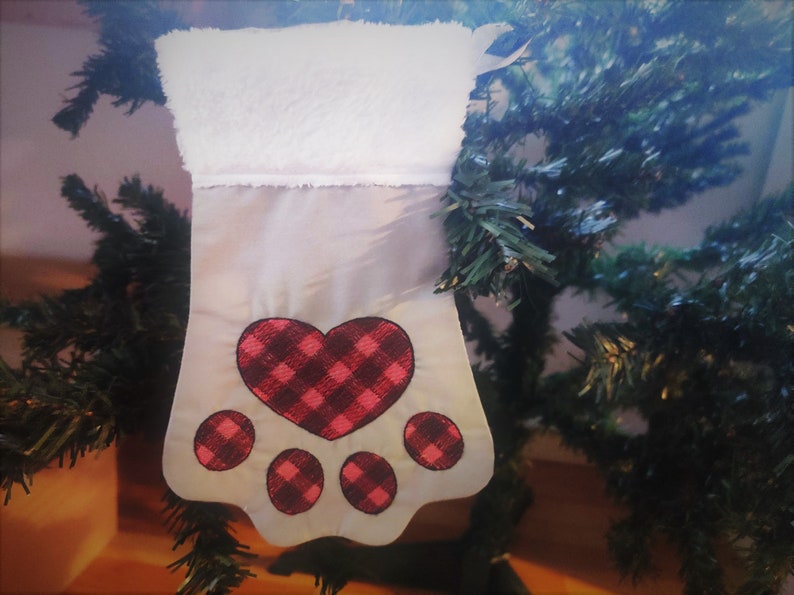
Depending on the purchased design stitch the decoration and add a monogram.

Now it's time to make a cuff.
Set the cuff piece cut edge along the upper stocking edge and cover it with seam allowance approx ⅓ inches right side down.
It is helpful to use the tape to make sure the fabric stays nice and flat while stitching.

Stitch the straight seam to tack down the cuff.
Turn cuff down the right side and tack down it.


Trim cuff bottom edge and finish with satin stitch.


Tape the hanging ribbon, optional length double folded 3 inches.

And tape it to the stocking's cuff side.

Opening to turn the stocking in
Take the long fabric side that stays outside the hoop and cover the stocking.

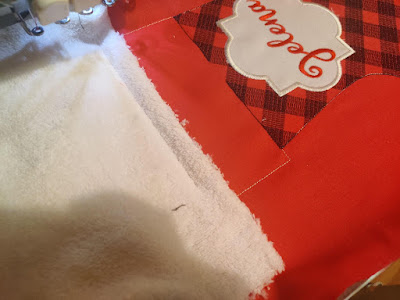
The fabric piece will be longer than should we need to trim it a little. Indicate where is the stocking bottom and mark a line ⅔ or 1 inch higher of stocking bottom, as shown in the photo below:

Trim along your marked line.

You will need that hole to turn the stocking right side, and don't worry about that, because it will be hidden inside.

Open your stocking again to lay on the second fabric piece.


Lay the folded edge along the upper part of the stocking.


The tack down seam will be next. I do not have a photo :( but I have an example below:

Take the long fabric side again from outside of the hoop and cover the stocking.

Stitch the last stocking outline. Unhoop the stocking. Gentle tear away the stabilizer.
Cut out the shape seam allowance approx ⅓ inches.

Clip into the seam allowances along the curves. Make cuts as close as possible to the seam.
Be careful do not cut the seam!
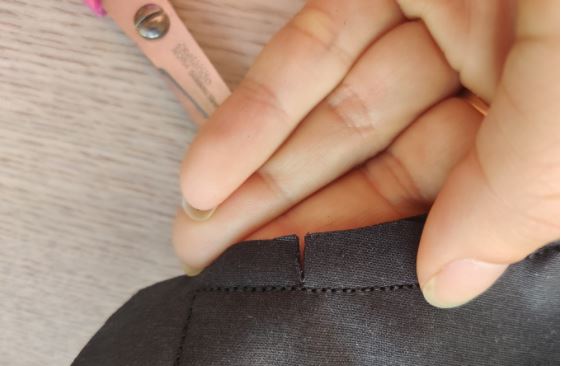
Make cut under the cuff into the corner as well.

Turn right side by two steps, first via opening below, it's only you will see.

Then via the upper part of the stocking turn completely right side.

You are done!

Kids will be excited to get cute Christmas Stockings!
You are welcome to visit my Etsy shop Artapli.etsy.com
