Machine Embroidery Tutorial - how to make Christmas tree ornaments

Felt project by ARTAPLI
NOTE: Sometimes you should pause the machine, take out the hoop, but please, do not unhoop your project! The backing is taped behind the hoop.
1. Hoop only tear away stabilizer. Attach the hoop to the machine.

2. Embroider the outline directly onto the stabilizer.
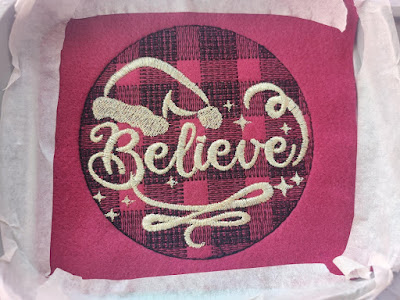
3. Stop machine. Do not unhoop your project. Lay felt right inside the shape. It is helpful to use the tape to make sure the fabric stays nice and flat while stitching.
4. When the design is almost finished, before the last step outline, take the hoop out from machine, but do not unhoop your project.

5. Turn around the hoop to see the back side of the project.

6. Tape the hanging ribbon, optional length double folded 3 inches.

7. Place the lining/ facing behind the hoop. Please ensure there is plenty of excess fabric around the perimeter.

8. Cut a piece to the desired size and fix to the hoop. I am fixing the lining with a tape or pins.

9. Stitch the last seam outline, it will be lining tack down seams
10. Unhoop and cut out the circle. Be careful, do not cut the satin ribbons!

Your Christmas ornament is ready to hang on Christmas Tree. Enjoy!
The embroidery design Christmas ornaments set of 6 is available in my Etsy shop.
Check more machine embroidery designs from Artapli.etsy.com