How to make feltie or double sided embroidery designs free tutorial
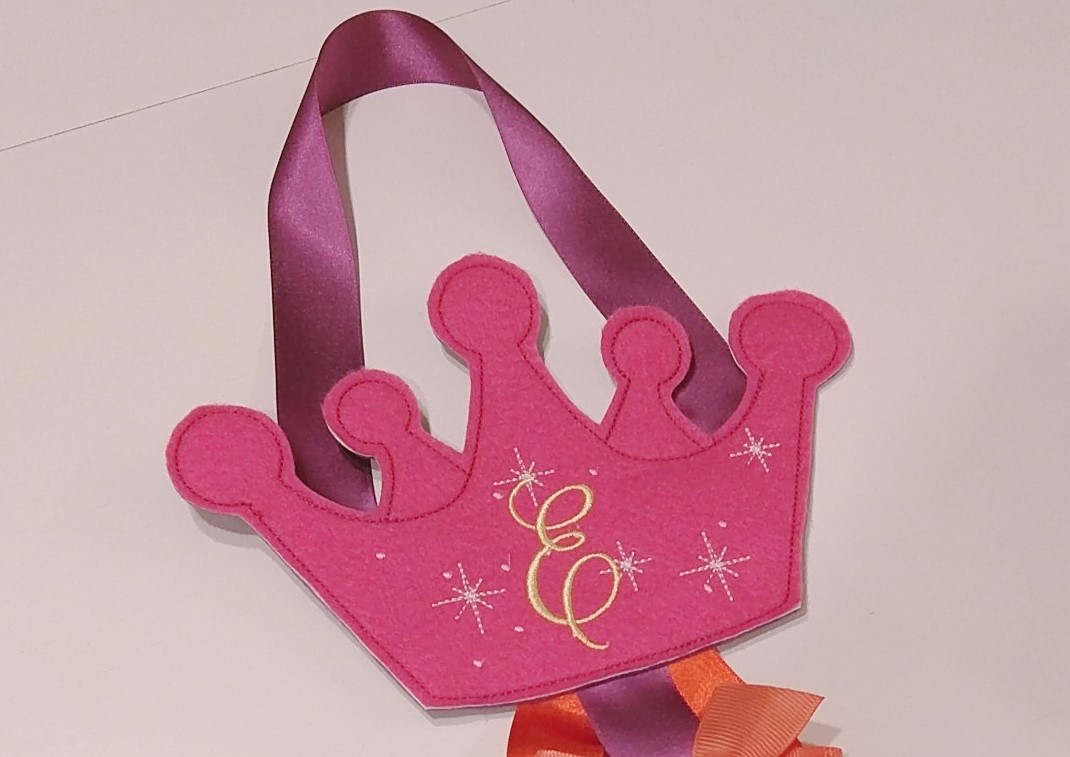
Crown bows holder
Felt in-the-hoop project free instructions by ARTAPLI


NOTE: Sometimes you should pause machine, take out the hoop, but please, do not unhoop your project! The backing is taped behind the hoop.
Hoop only tear away stabilizer. Attach the hoop to the machine

Embroider the outline directly onto the stabilizer.
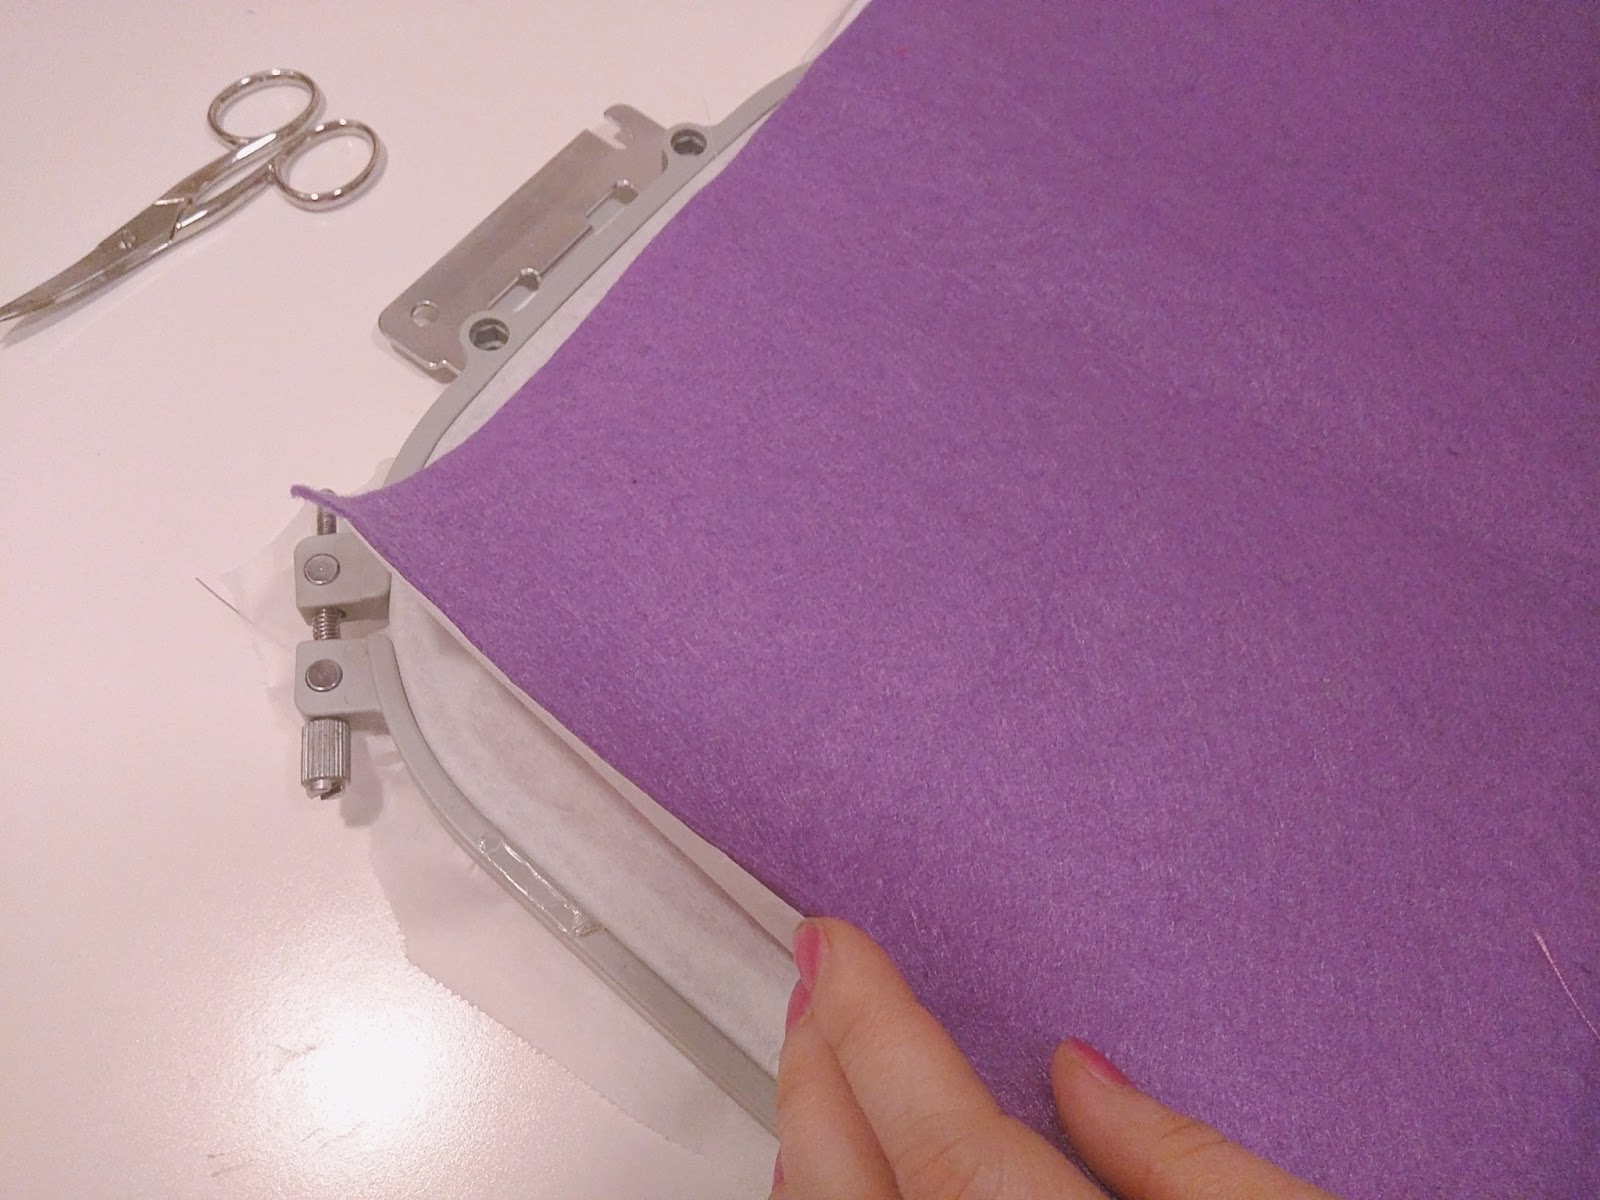
Stop machine, do not unhoop your project, lay felt right inside the shape

It is helpful to use the tape to make sure the fabric stays nice and flat while stitching.
At this moment it is possible to monogram your crown.
You need to have at least simply software to do it.
Or there is another way, little difficult, but it is one if you do not have software:
1. Load the needed crown design,
2. then load letter by letter to compose needed name using MERGE function on your embroidery machine
You should use Font, which is available for sale or installed to your machine, in this listing it is not included. But, if you have problems, contact me and i will try to help you
3. embroider until the fabric tack down will be complete and stop machine, skip other steps until begin your custom name embroidery steps.
4. embroider name and stop machine
5. return to the fabric tack down step and continue to make the princess crown
Take the hoop out from machine, but do not unhoop your project

Turn around the hoop to see the back side of the project
Tape satin ribbons, lengths are optional
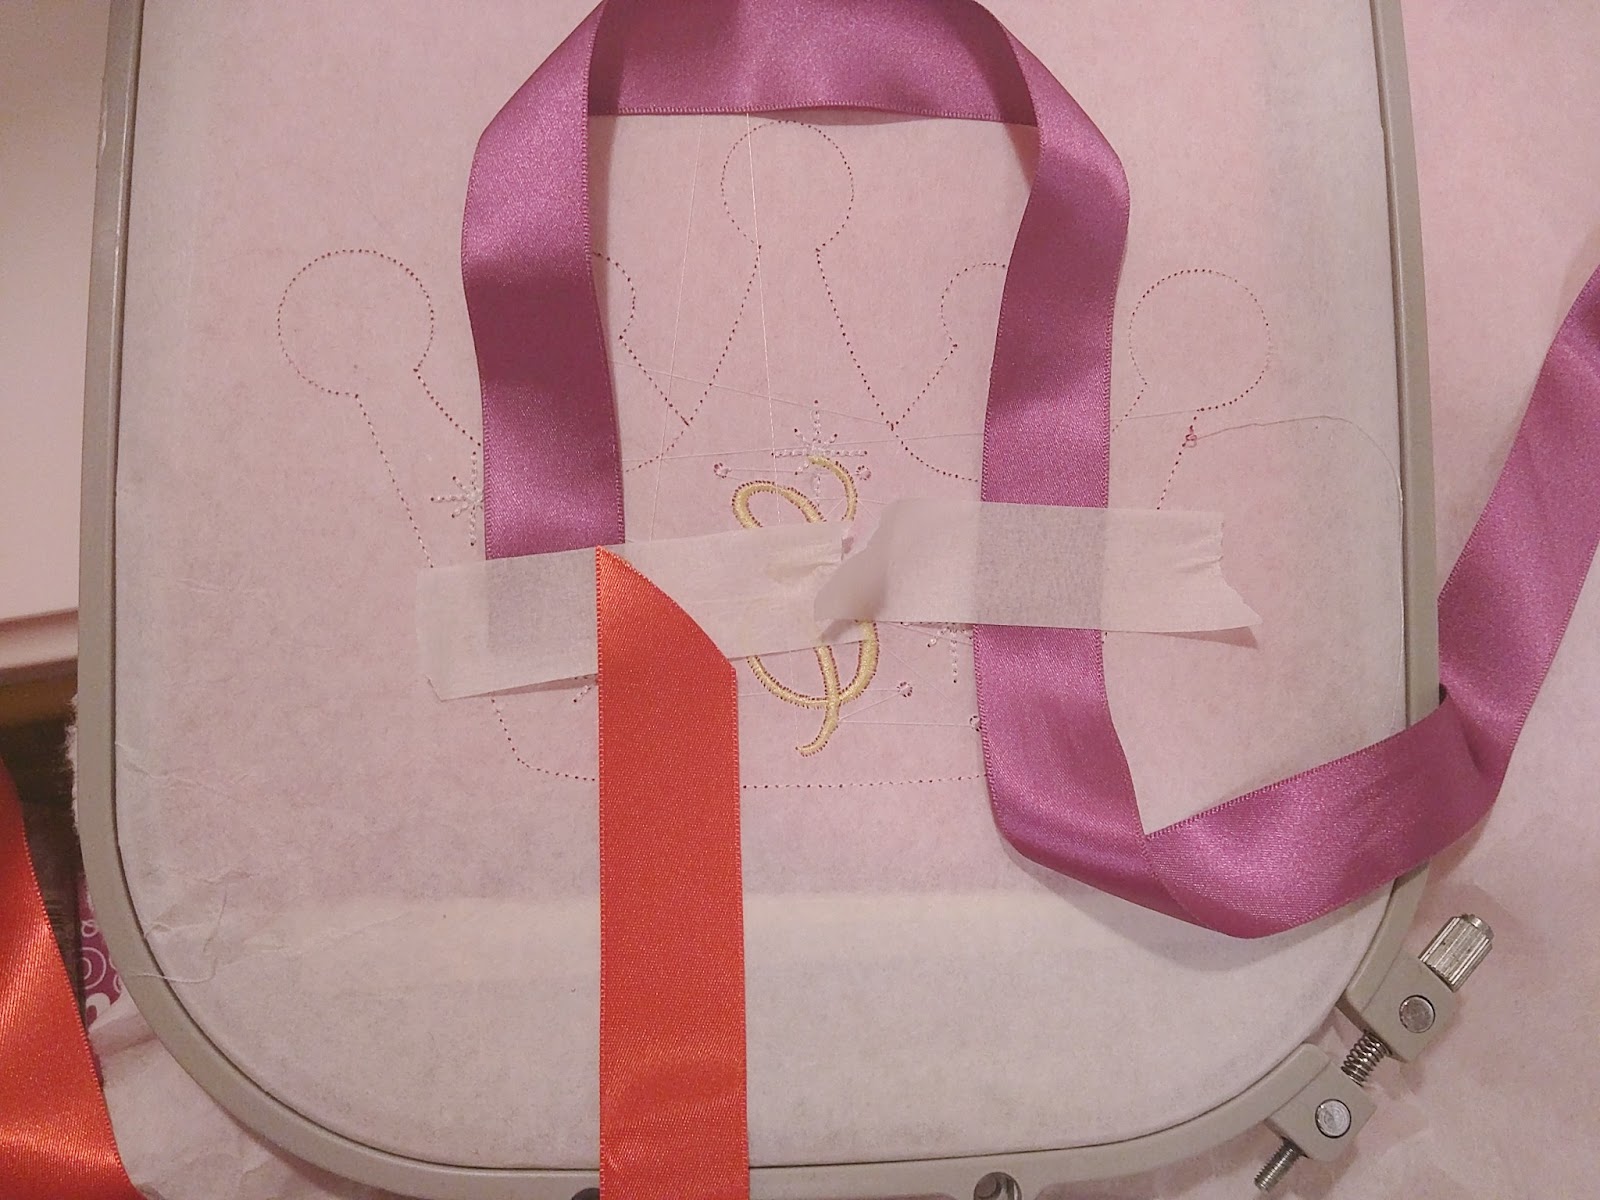
and attach the lining/ facing behind the hoop
Please ensure there is plenty of excess fabric around the perimeter. I am fixing the lining with a tape or pins.
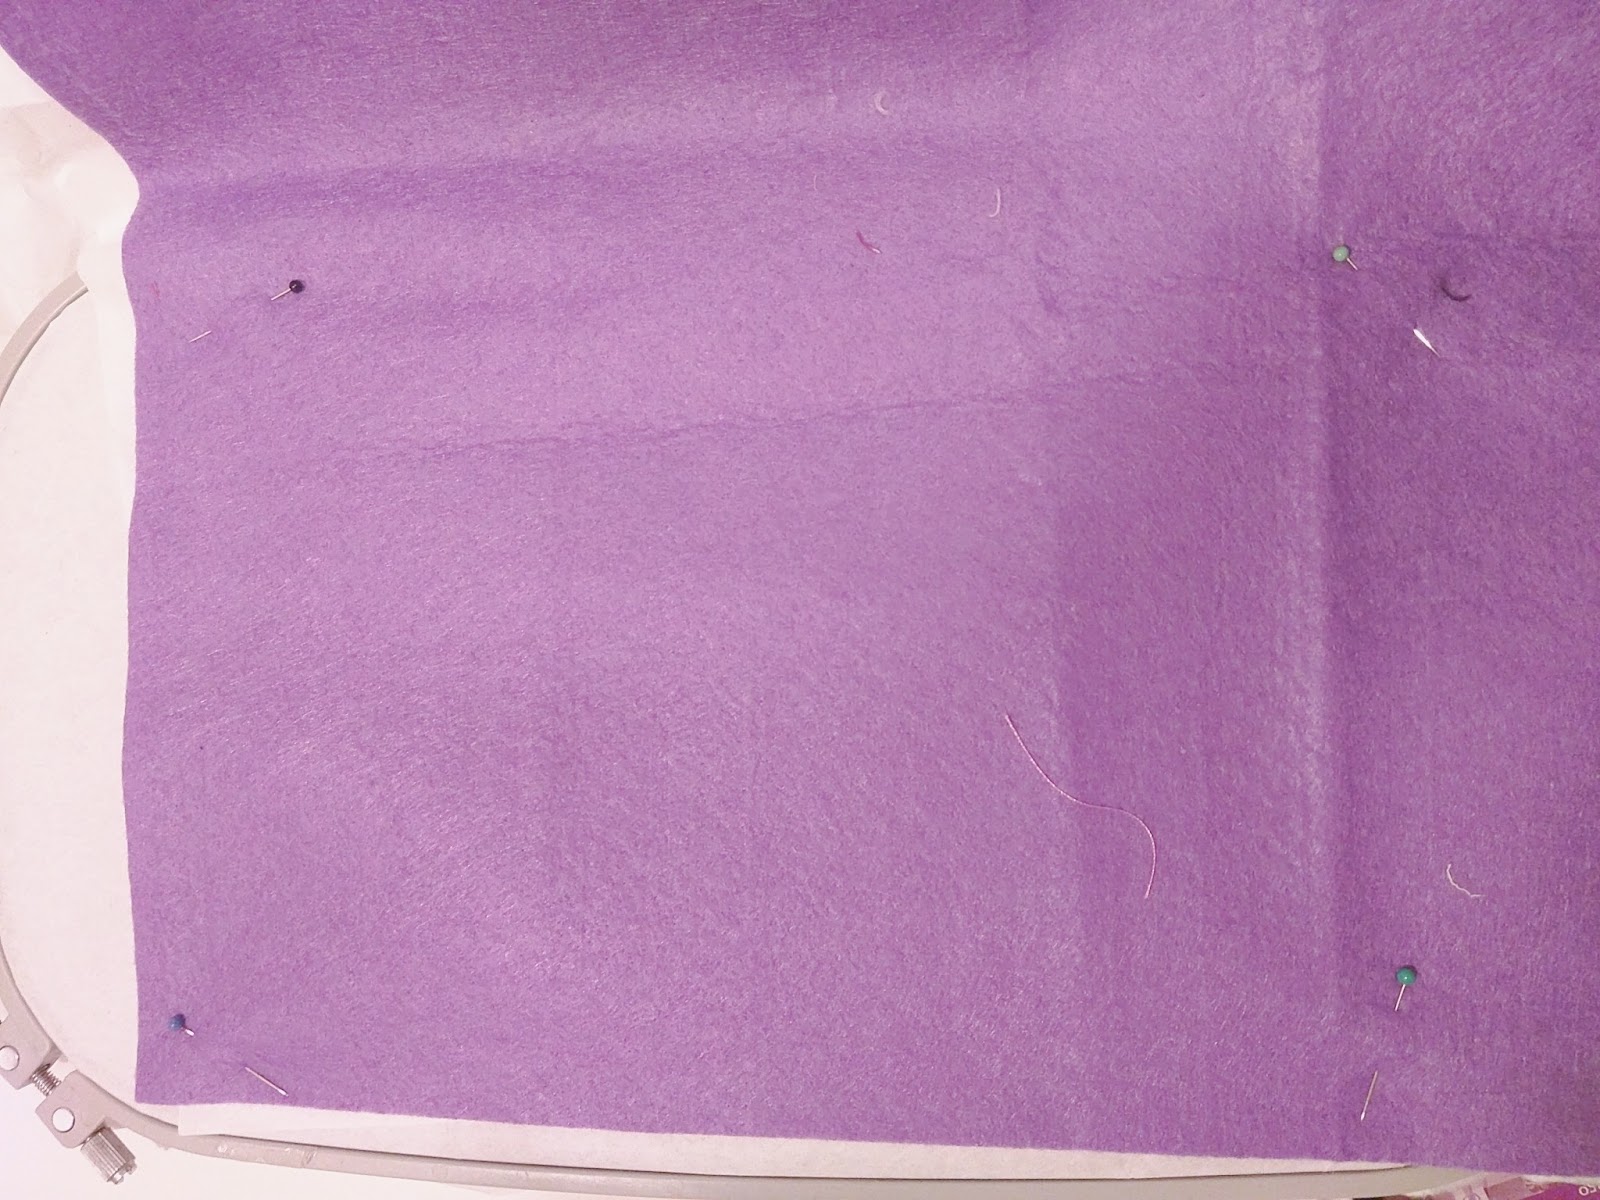
Sew the applique fabric and lining tack down seams outline
Unhoop and cut out the crown. Be careful, do not cut the satin ribbons!
Design is for sale in my Artapli Etsy shop
