Busy bee chain new zipper bag ITH in-the-hoop embroidery instructions by Artapli
ZIPPED BAG ITH in-the-hoop embroidery instructions

This purse in my shop here ETSY
NOTE: Sometimes you should pause machine, take out the hoop, but please, do not unhoop your project!
The backing is taped behind the hoop!
To make the Case You will need:

MAIN FABRIC:
Size 5x7
Size 5x9
Size 6x10
Purse front piece
9 inches width by 6 inches height
11 inches width by 6 inches height
12 inches width by 7 inches height
Purse back piece (bigger)
9 inches width by 8 inches height
11 inches width by 8 inches height
11 inches width by 10 inches height
2 BIG pieces of main fabric size bit bigger than your future purse
LINING FABRIC: same as the main fabric
SUPPLIES:
ZIP length longer by few inches than your future purse
Ribbon approx 4 inches length (OPTIONAL)
Medium weight tear away stabilizer
Clear Tape
Project Colors changes

Zip position line
Zip tack-down seams
MAIN FABRIC Purse front piece tack-down seam below the zip
MAIN FABRIC Purse front piece tack-down to secure in place
and 6. Are decorative stitches
7. LINING FABRIC Purse front piece tack-down seam below the zip
8. LINING FABRIC Purse front piece tack-down to secure in place
9. MAIN FABRIC Purse back piece (bigger) tack-down to hide the zipper
10. MAIN FABRIC Purse back piece (bigger) tack-down at purse bottom
11. The whole purse outline and LINING FABRIC Purse back piece (bigger)
Zipped bag stitching
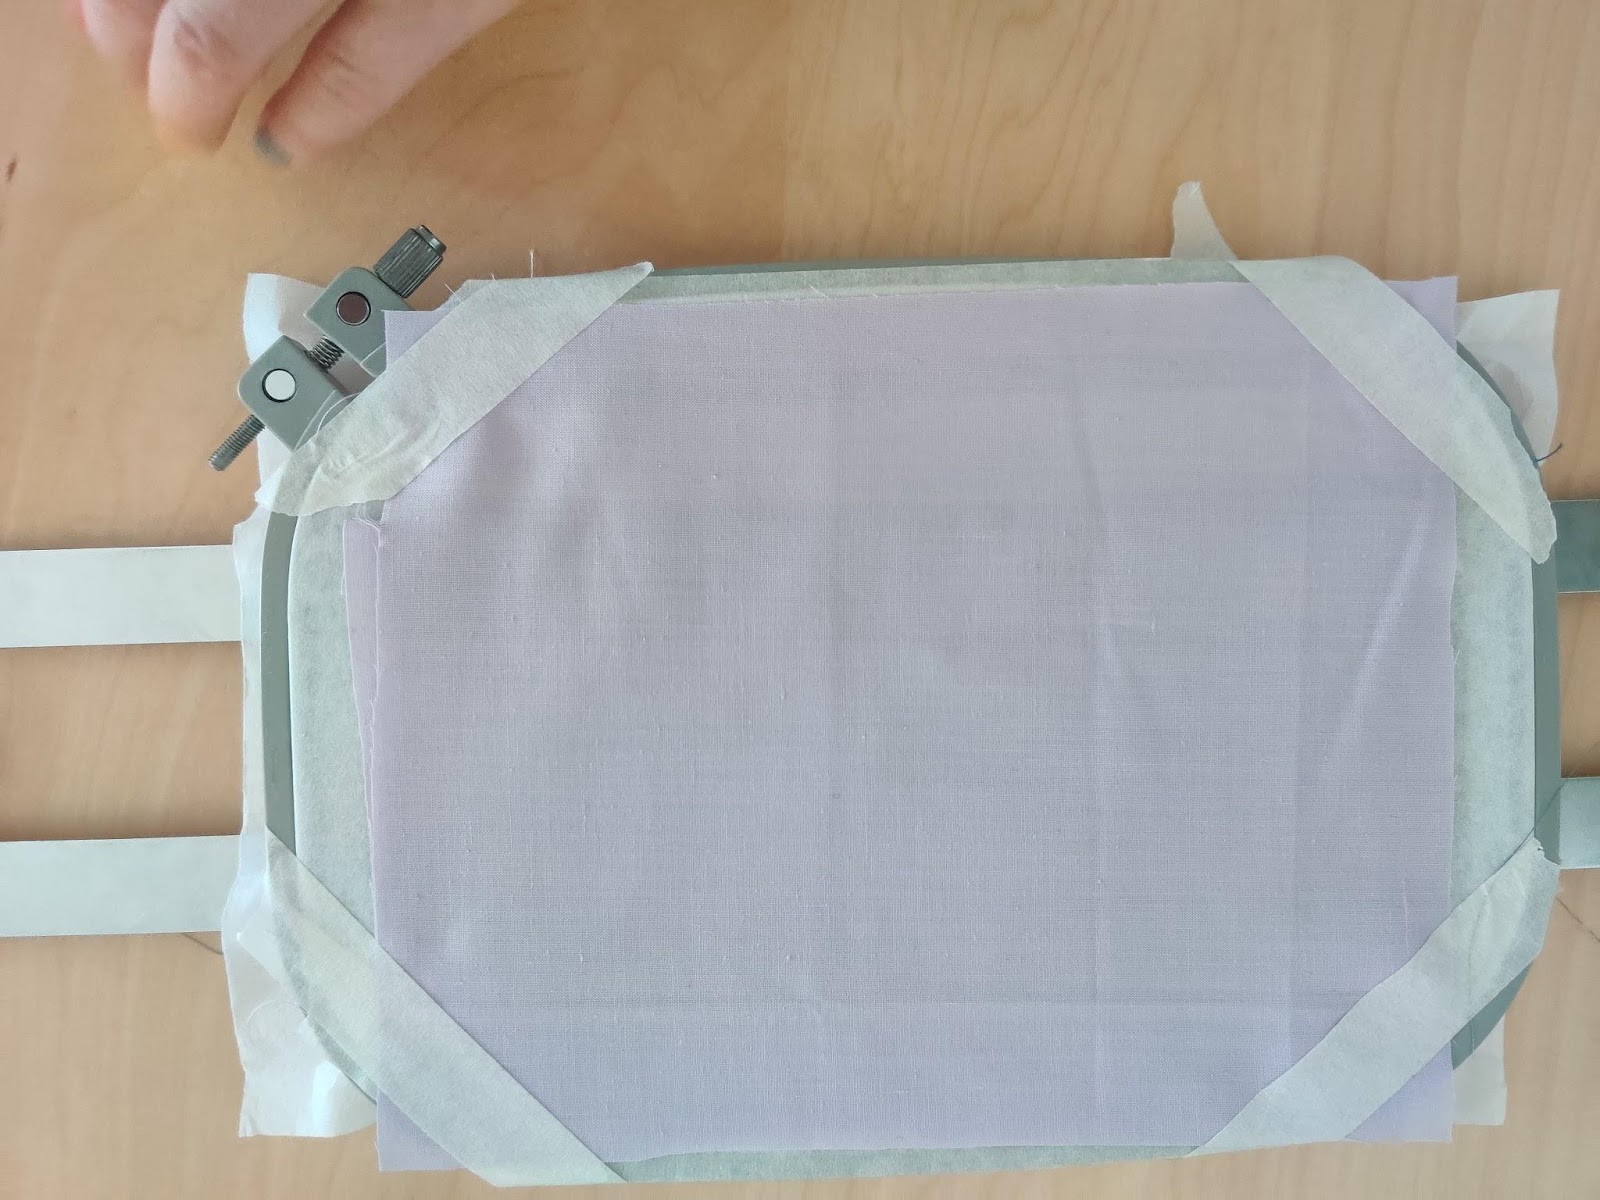
Hoop only tear away stabilizer. If the decoration on the bag is dense i hoop double layered tear away stabilizer. Attach the hoop to the machine
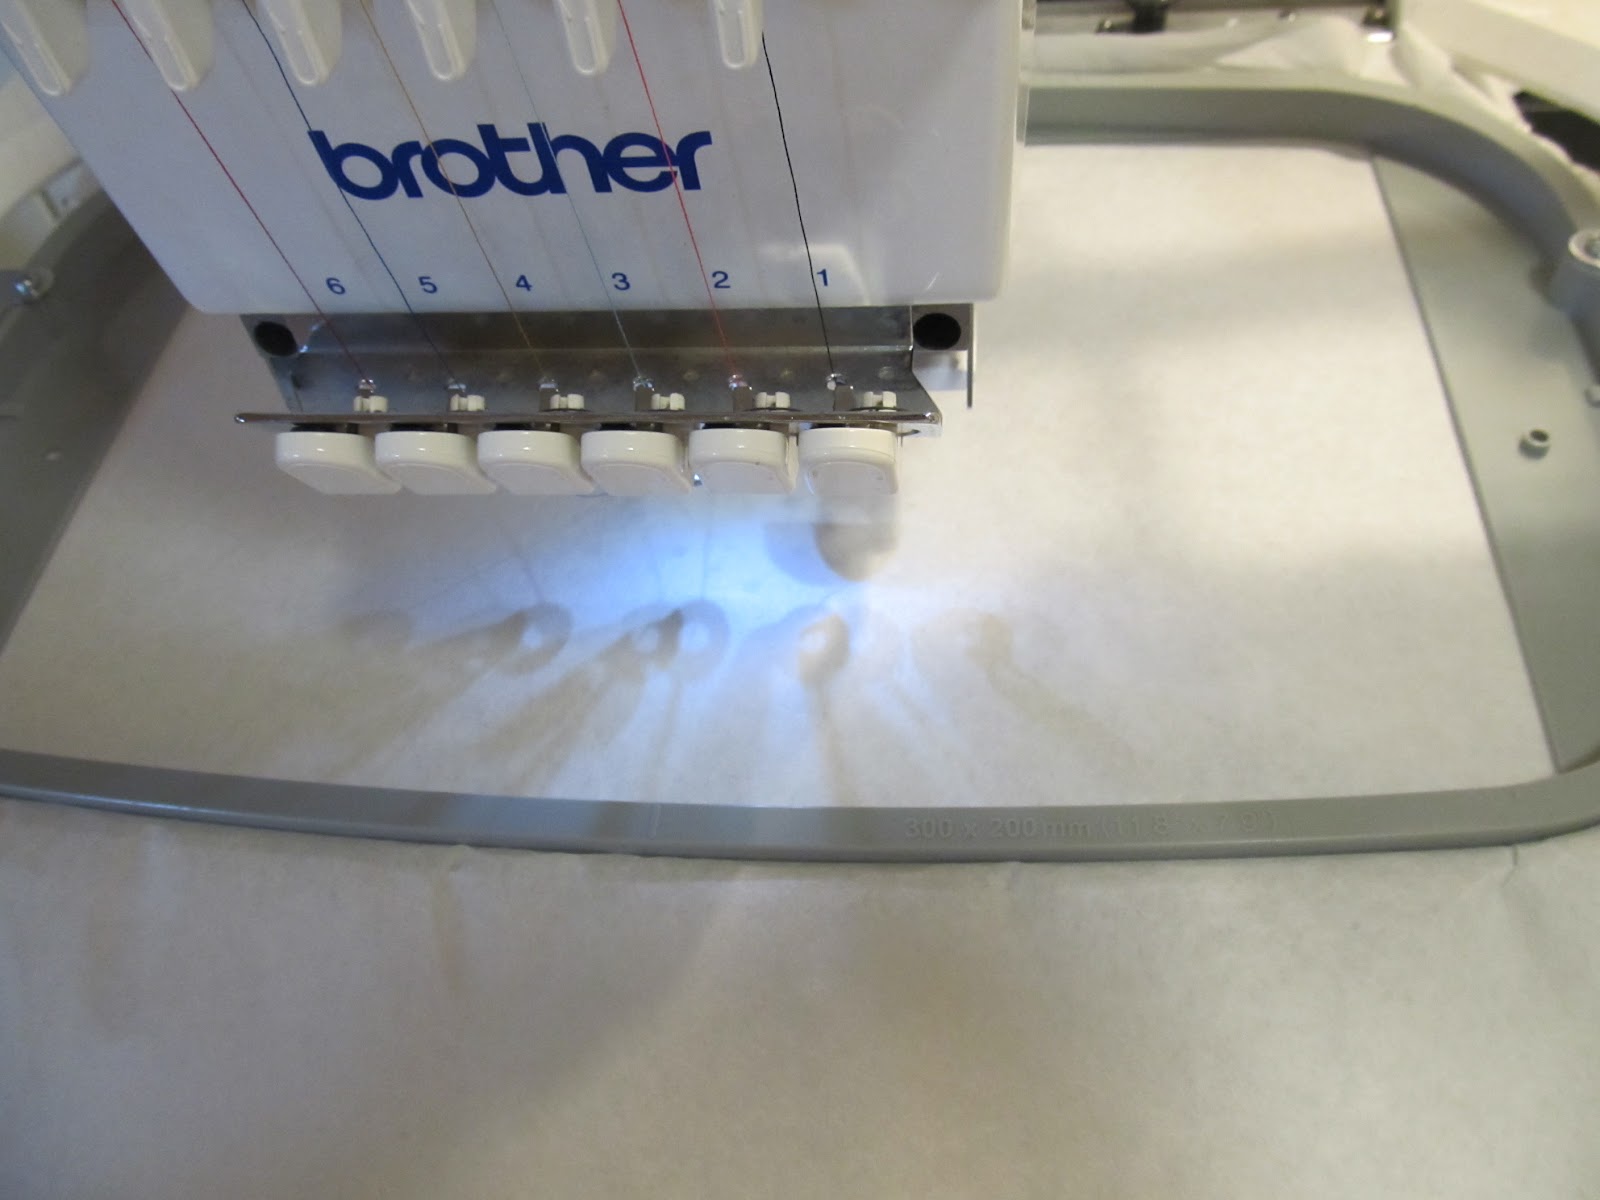
Embroider the ZIP outline directly onto the stabilizer NR 1

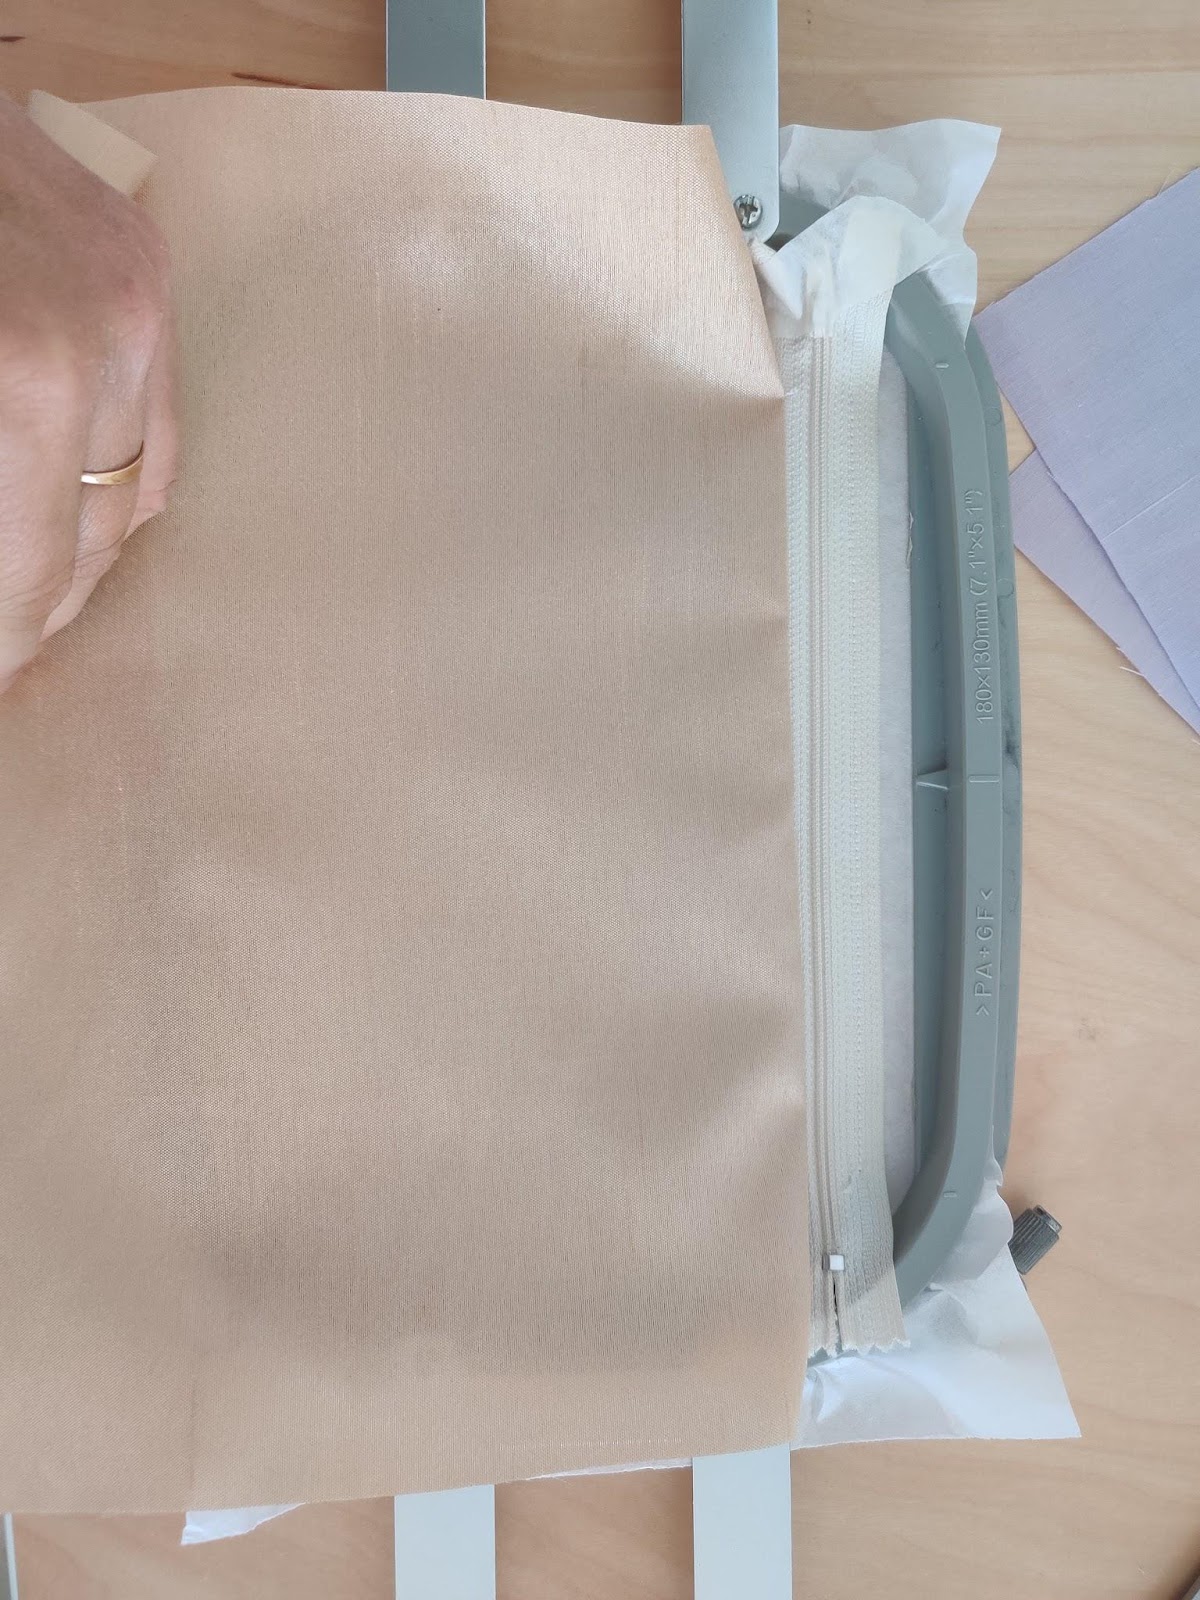
Stop machine, do not unhoop your project center and place zipper over the stitching lines. The zipper should be longer than the area and it will be trimmed later.

There are few important things:
Lay the ZIP exactly in the center
Lay it so the metal ZIP details are outside of stitching
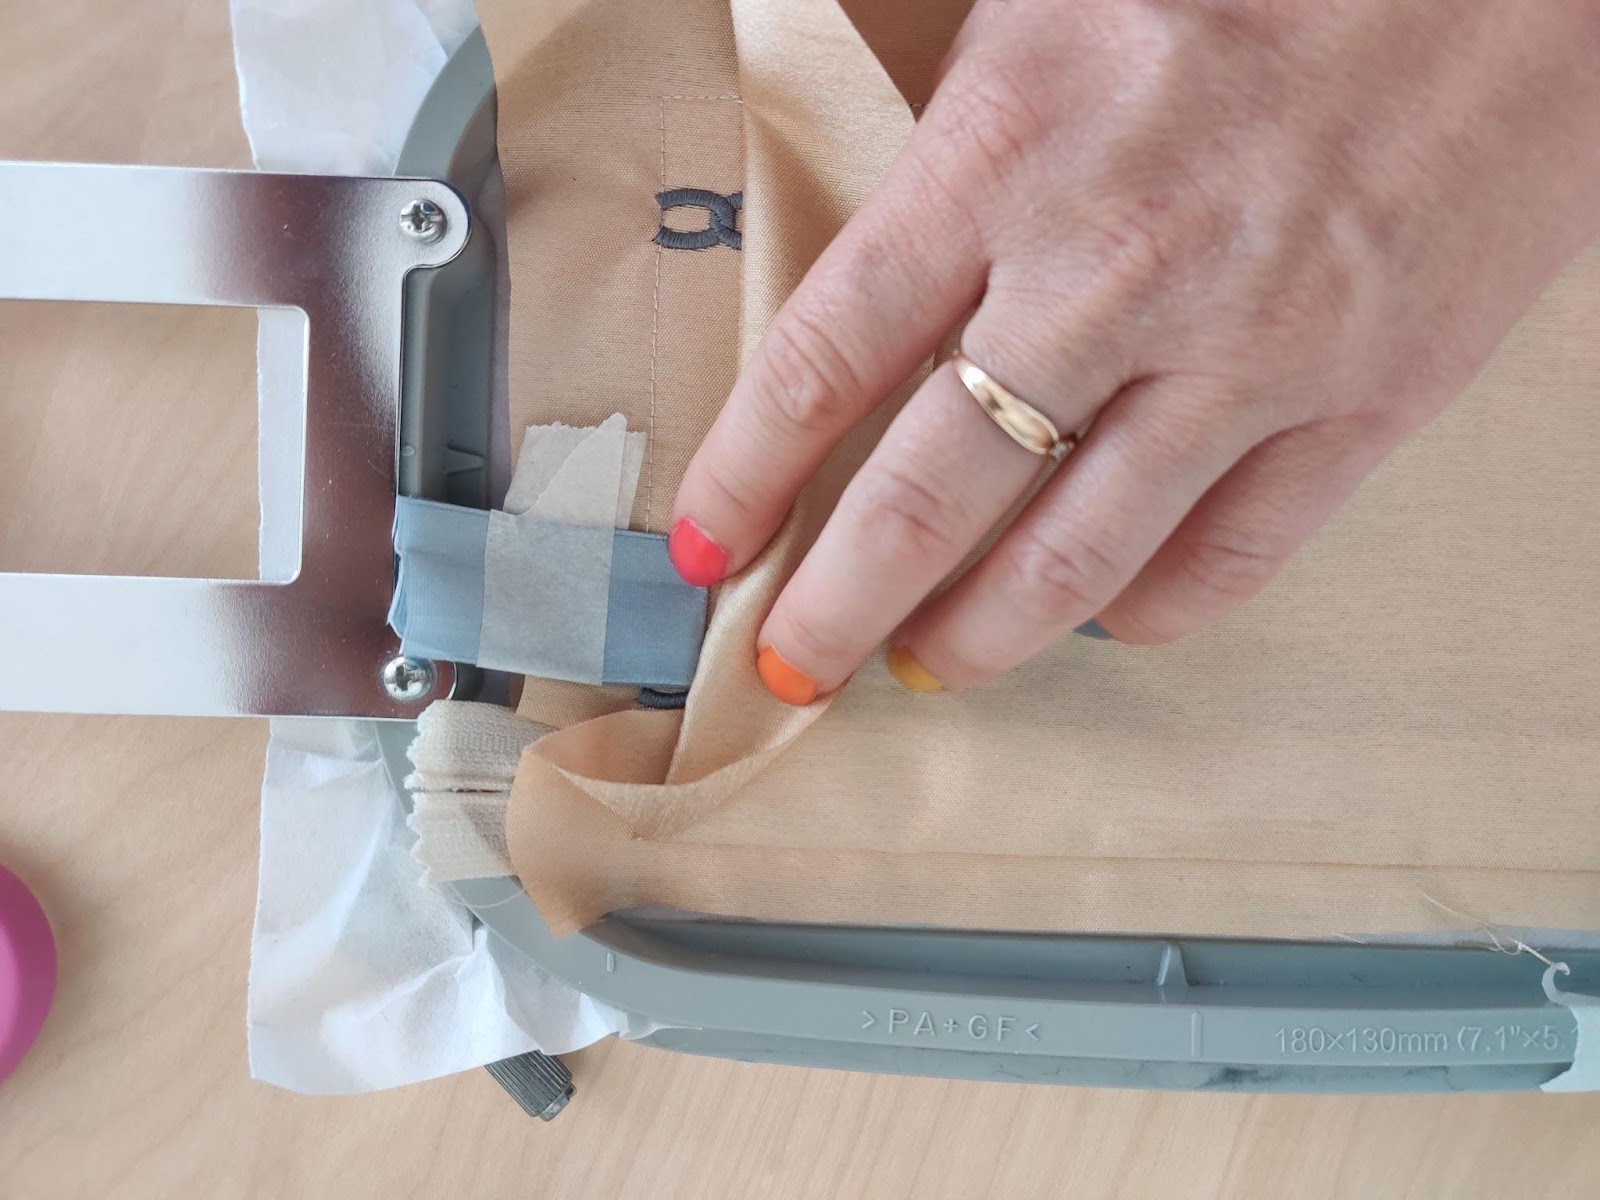
The ZIP is securely taped
Set the zipper pull approx. ½ " outside of the purse outline
Fix the zipper pull well with a tape
It is helpful to use the tape to make sure the fabric stays nice and flat while stitching.
Stitch the NR 2 color change of the embroidery design called Zipper tack-down

Remove a tape, later it will be more difficult
BUT important is leave the zipper pull still taped

Place one piece of fabric so the edge lines up with the bottom zipper tack down stitch and covers it approx. ½" right side down, as shown in photo below.

It is helpful to use the tape to make sure the fabric stays nice and flat while stitching. Sew the next seam COLOR NR 3

Stop machine do not unhoop, remove tape, set the tacked-down main piece downside down shown on photo BELOW
FROM

TO
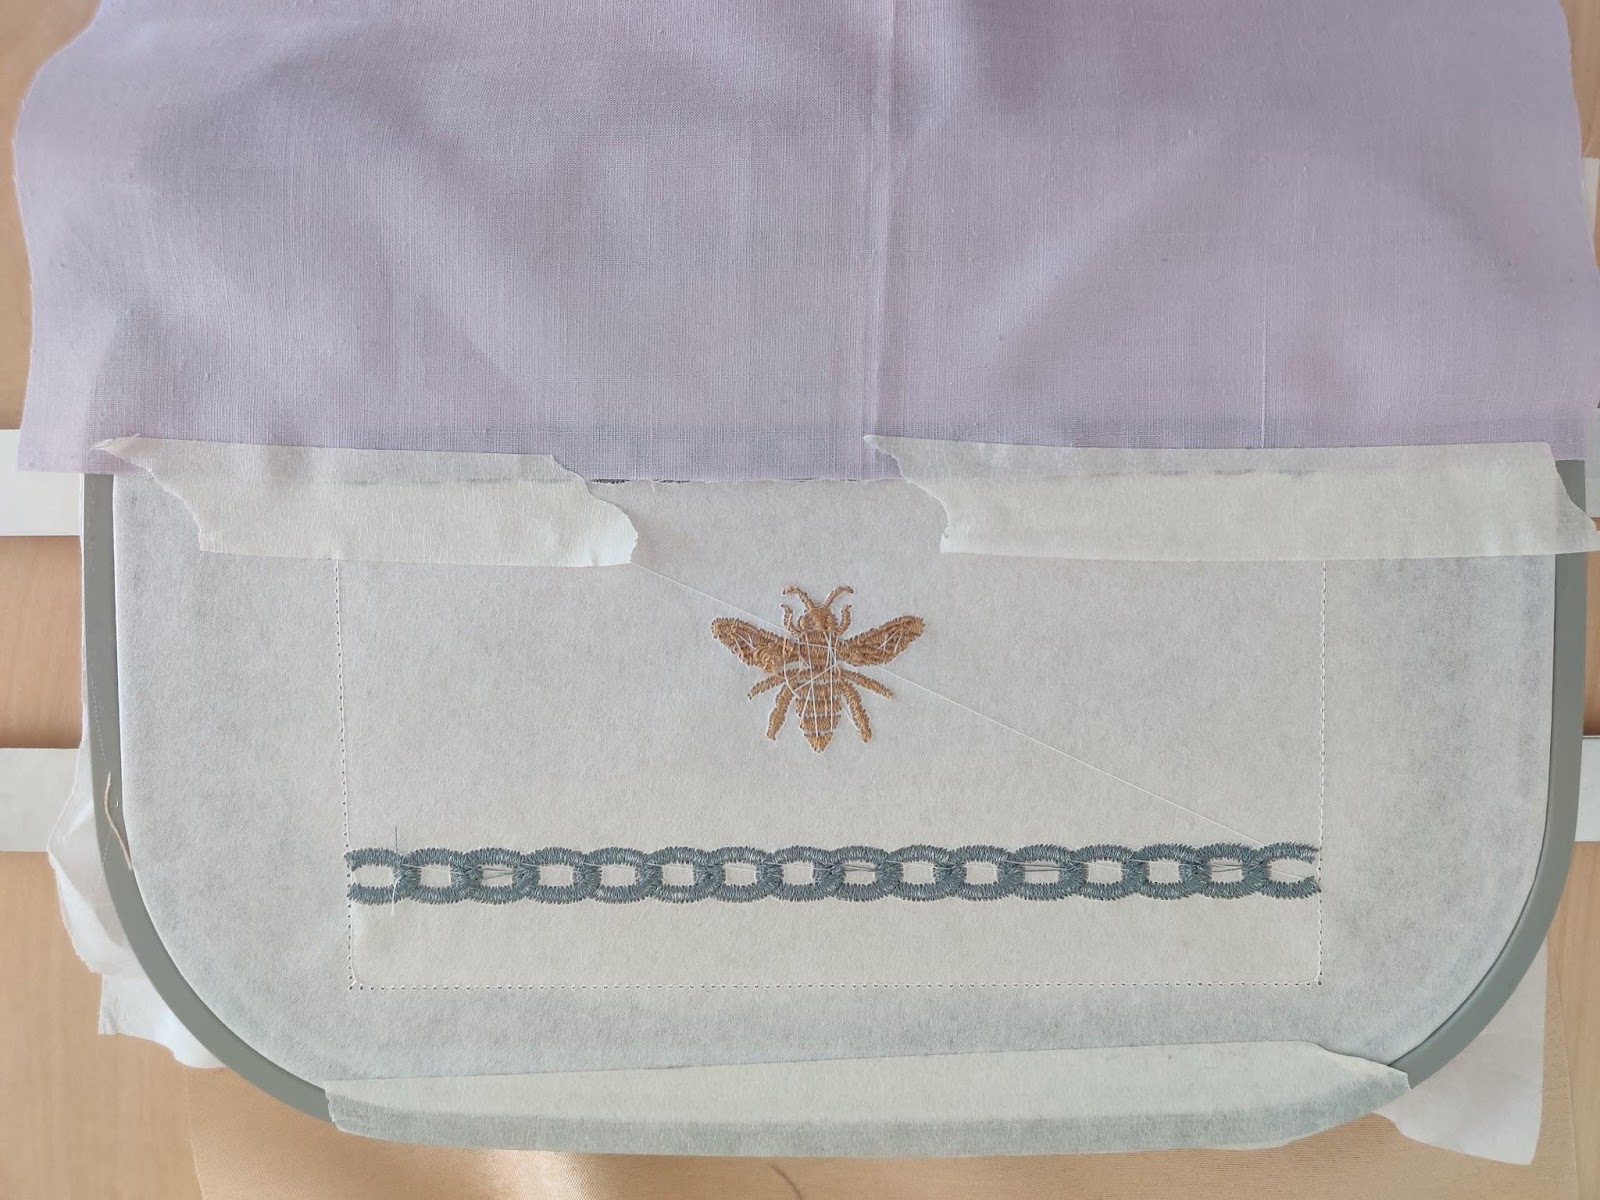
Bottom purse light outline will be next, COLOR NUMBER 4
and make the decoration rs NRs 5-6

LINING TACKING DOWN
Take the hoop out from machine, but do not unhoop your project

Turn around the hoop to see the back side of the project

Process is same as for the main fabric

Place one little piece of LINING FABRIC Purse front piece so the edge lines up with the upper stitch and covers it approx. ½", as shown in photo below. RIGHT SIDE DOWN

It is helpful to use the tape to make sure the fabric stays nice and flat while stitching.
Sew the next seam COLOR NR 7.- LINING FABRIC Purse front piece tack-down seam below the zip
Stop machine do not unhoop, remove tape, set the tacked-down main piece downside down shown on photo BELOW

It is helpful to use the tape to secure in place
It is helpful to use the tape OR pins to make sure the fabric stays nice and flat while stitching.
Now time to make purse back side, take MAIN FABRIC Purse back piece (bigger) and fold and iron the edge approx 1.5 inches


Cover with this piece the zipper, lay the folded edge so it lines up with zipper bottom line and covers it approx. 0.3 inches RIGHT SIDE UP

It is helpful to use the tape to secure in place 
and stitch the color 11

Turn the hoop front side and remove the tape from the zipper pull
IMPORTANT Unzip the zipper halfway!!!
Do not forget to do that, since you will not be able to turn the purse right side
You may add ribbon as shown on photo below:

Fold the ribbon in half
Lay right on top of the zip and tape the ribbon or cord ends.
There left few steps
set the tacked-down main piece downside down shown on photo BELOW
. Fix with a pins or tape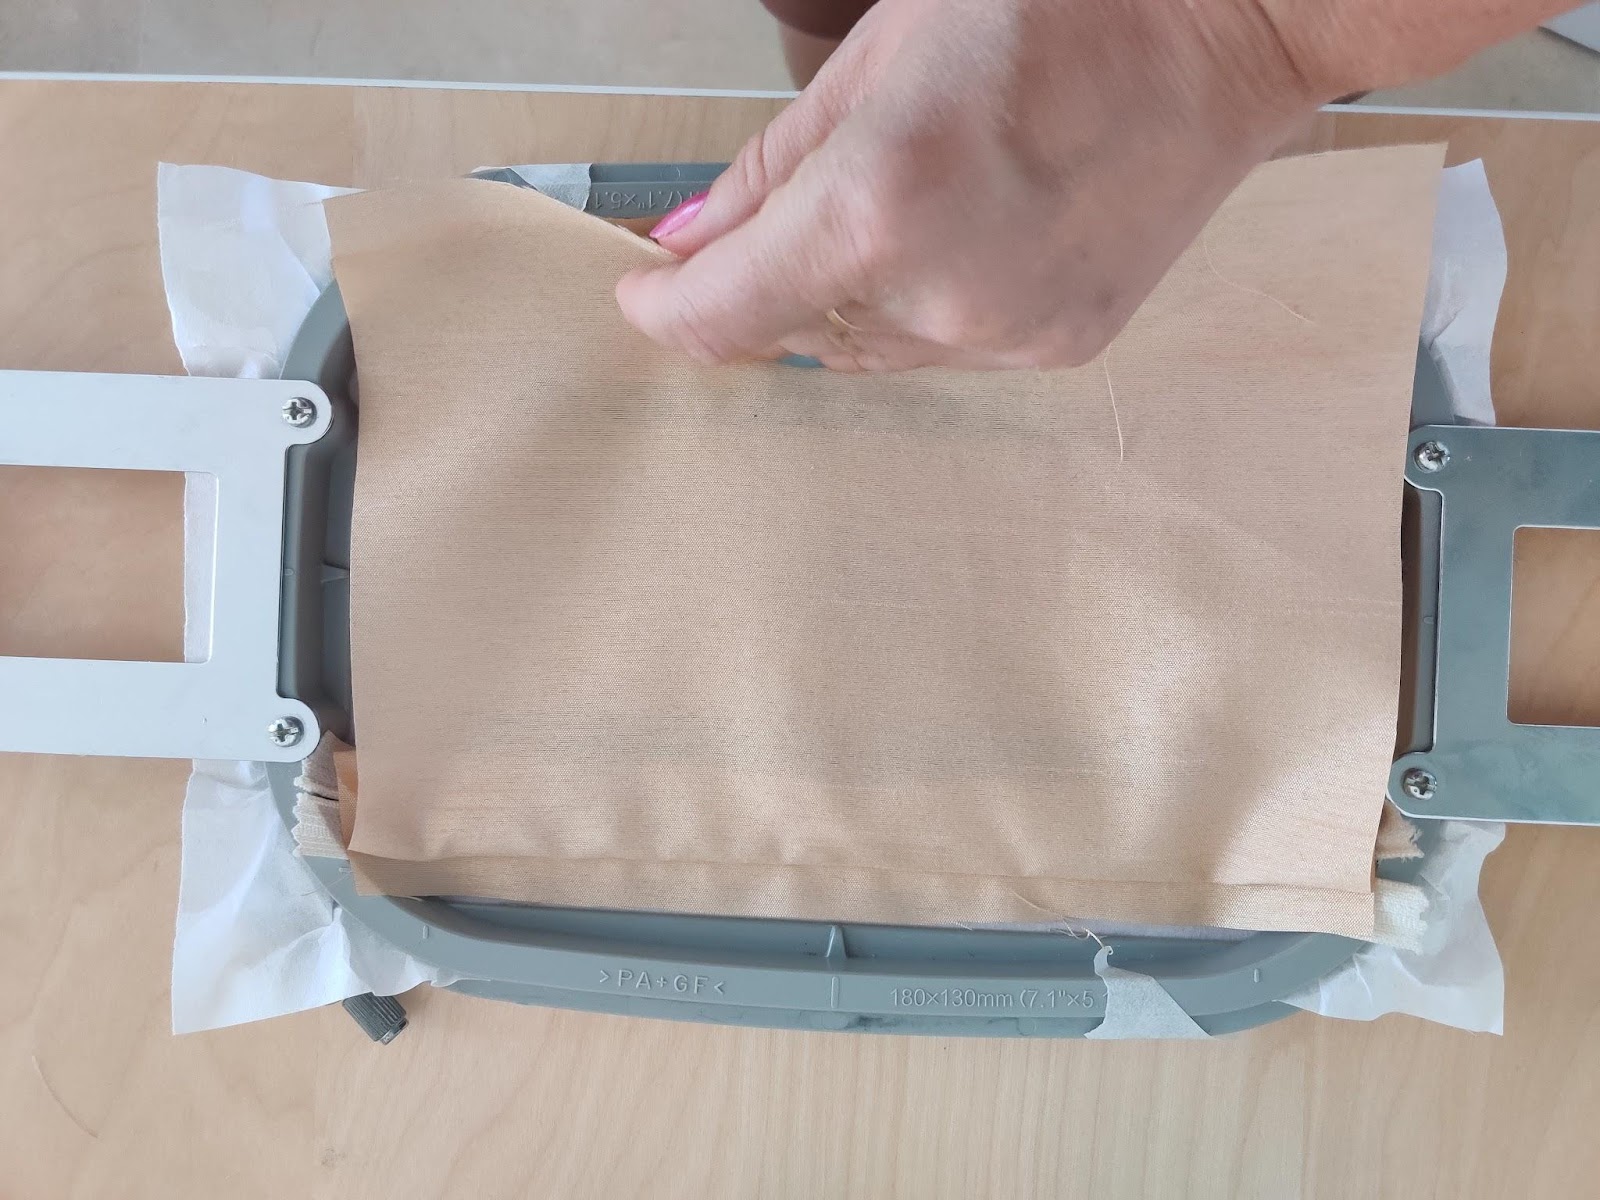
Sew the bottom bag line to tack down fabric COLOR 10, so they stay nice and flat while stitching

Take the hoop out from machine, but do not unhoop your project
Turn around the hoop to see the back side of the project

Lay the lining piece of fabric right inside the shape.

Please ensure there is plenty of excess fabric around the perimeter. I am fixing the lining with a tape or pins.
Sew the last tack down stitch whole outline, COLOR 11

When the design has finished, remove the tape, unhoop, and gently tear away the excess stabilizer.

Cut out the shape and make cuts in corners. Be careful do not cut the seam!

Then turn the detail through from the bottom hole. Turn right side by two steps.
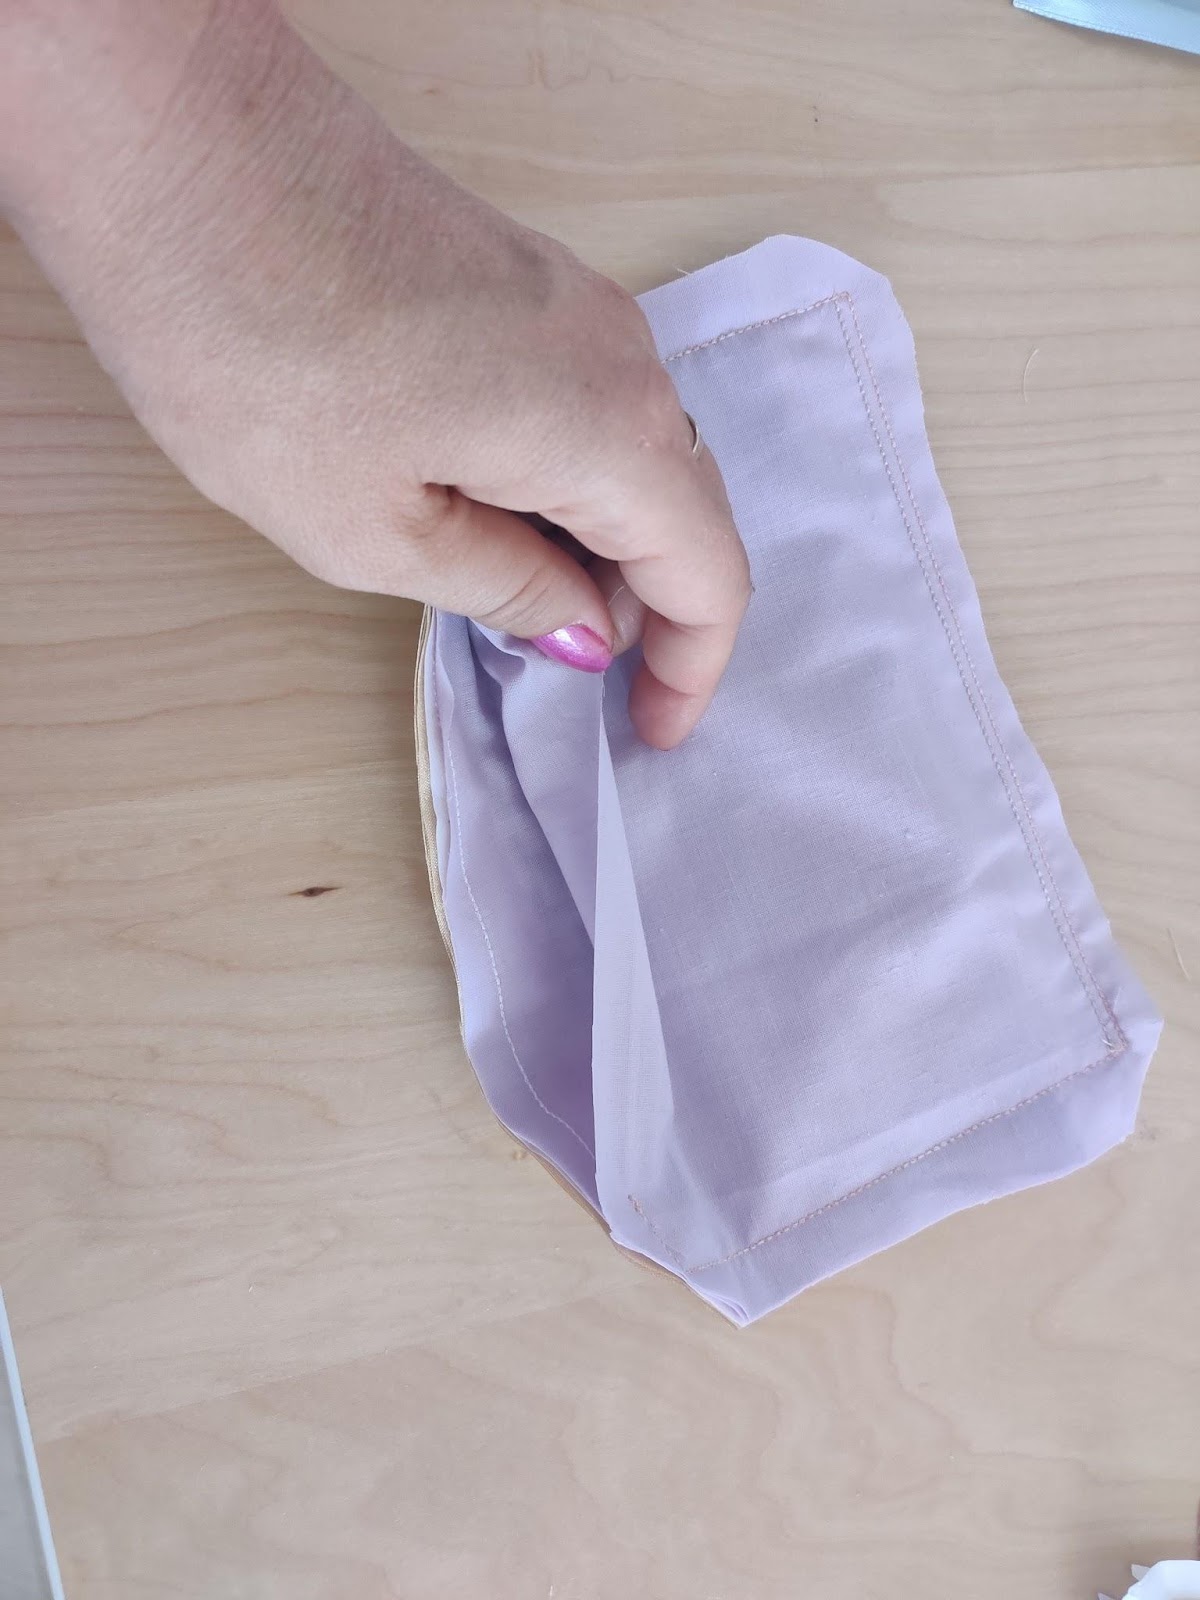
First turn the detail through from the bottom hole as mentioned. Sew the opening, see image below:

Sew the opening inside the envelope by sewing machine and by hand.

Trim the stabilizer from the zipper before turning right side out.

Turn right side out from the zipper.


SIMILAR PROJECTS