Applique machine embroidery design tutorial, applique clear instructions, applique step by step guide
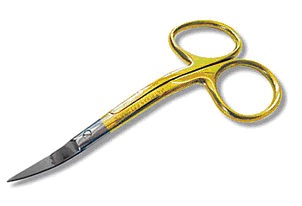
Very important to have scissors with a curve blades. With them is easier to make an applique.
Hoop the material your finished design will be on.
The outline of the applique stitches first.
You can use any thread color you want; it's going to be covered anyway.

Place your applique fabric over the outline. I am fixing fabric with tape.
1  2
2 
2 3  4
4 
4 The tacking stitch sews next, tacking the applique fabric down.

Remove the hoop from the machine but don't unhoop!

Trim the fabric - Get as close as possible to the stitches but do not cut them!


Place hoop back to machine

Final Stitches – wide satin stitches to complete the look

If you have questions feel free write to me:

Multiple steps an applique
Since many appliques have more than one piece of type/color fabric, for each different fabric an separately outline is stitched, you place the fabric within that outline, it stitches over it again with the tacking stitch. you cut the fabric close to the stitching and then the outline goes to the next fabric placement and tacking stitch once all fabrics are in place with the outline stitching then the design stitches out the satin stitch.
By this script:
1. applique position seam
2. fabric tack down, stop machine and fabric trimming
3. new applique position seam
4. new fabric tack down, stop machine and fabric trimming
5. again applique position seam
6. again fabric tack down, stop machine and fabric trimming
as many times as needed ... and last will be nice satin stitch
Video instructions below